
How to Make Crystal Clear Ice Cubes and Spheres
If you're a fan of whiskey, craft cocktails or even a combination of both (hint hint: whiskey cocktails), you probably own a set of large ice cube or sphere molds. The problem is, which I'm sure you've probably noticed, these cubes always turn out cloudy! So what gives? Science, of course. I'll let Camper English from Alcademics explain it in an easy way:
By its nature, water wants to freeze into a clear crystal structure. As it does, it pushes trapped air and any impurities away from it. In an ice cube tray, this process happens on all sides of the cube; the last part to freeze is the center, and that's where the cloudy air-filled ice ends up.
So how do we fix this? Just head to your local craft ice distributor and buy a 300 pound block of clear ice for carving... OR you can to control the direction in which our water freezes (think, a frozen pond or lake). This can easily be achieved by purchasing a relatively inexpensive cooler with a hard plastic lining (see Tools section below). If we limit the the direction of freezing by only exposing one surface of the water to the freezing temperatures of a traditional freezer, we can achieve clear ice by pushing those air bubbles that cause cloudiness from the top of the mold, to the bottom. I'll show you how to make crystal clear ice spheres and cubes using this method in the steps below.
Why bother with crystal clear ice, you say? Allow me to give you a couple of reasons:
Due to the lack of air bubbles, the ice will melt at a relatively slower rate than a cloudy ice, resulting in a colder drink for a longer amount of time.
Since the ice will melt slower, this also means your drink of choice is will not experience the same rate of dilution from a traditional ice cube.
They just look cool (see what I did there?) #doubleentendre
Fun fact: According to the geometry of regular shapes, spheres have the lowest surface area to volume ratio, making them an ideal candidate for ice since it dilutes slower than a cube.
Ingredients
Cold filtered or distilled water
Other Tools
2.5 inch Ice sphere molds (Set of 4)
Soft cooler with removable plastic hardliner (Ozark Trail)
Small rectangular plastic Tupperware (or something similar)
Ice carving tools (cleaver, ice pick, wood chisel, hammer etc)
Instructions for Ice Spheres
Prepare all your tools, remove the plastic hardliner from the plastic cooler, set the cooler aside.
Wash your hardliner, ice molds and hardliner with soap and warm water before use (no need to dry it).
crystal clear ice sphere for cocktails
Place the plastic tupperware into the center of the hardliner, this is going to 'prop up' the sphere molds above the water. Fill the hardliner with water until the water level reaches 1/2 inch above the tupperware.

crystal clear ice sphere for cocktails
Slowly start filling up each ice sphere mold with your filtered tap water. Take your time so that air bubbles do not form in the mold.

crystal clear ice sphere for cocktails
Once the ice sphere mold is full, give it a couple taps on the bottom and sides of the mold to ensure any of the last air bubbles are released to the top hole, fill with more water if needed.
Now here's the tricky part: place your finger over the hole in which the water was poured, making sure no water more water escapes from the mold.
While your finger is still on the hole, turn the mold upside-down, ensuring no water escapes and place the mold in the water in the hardliner ensuring the mold is being held up by the plastic Tupperware (see picture below).
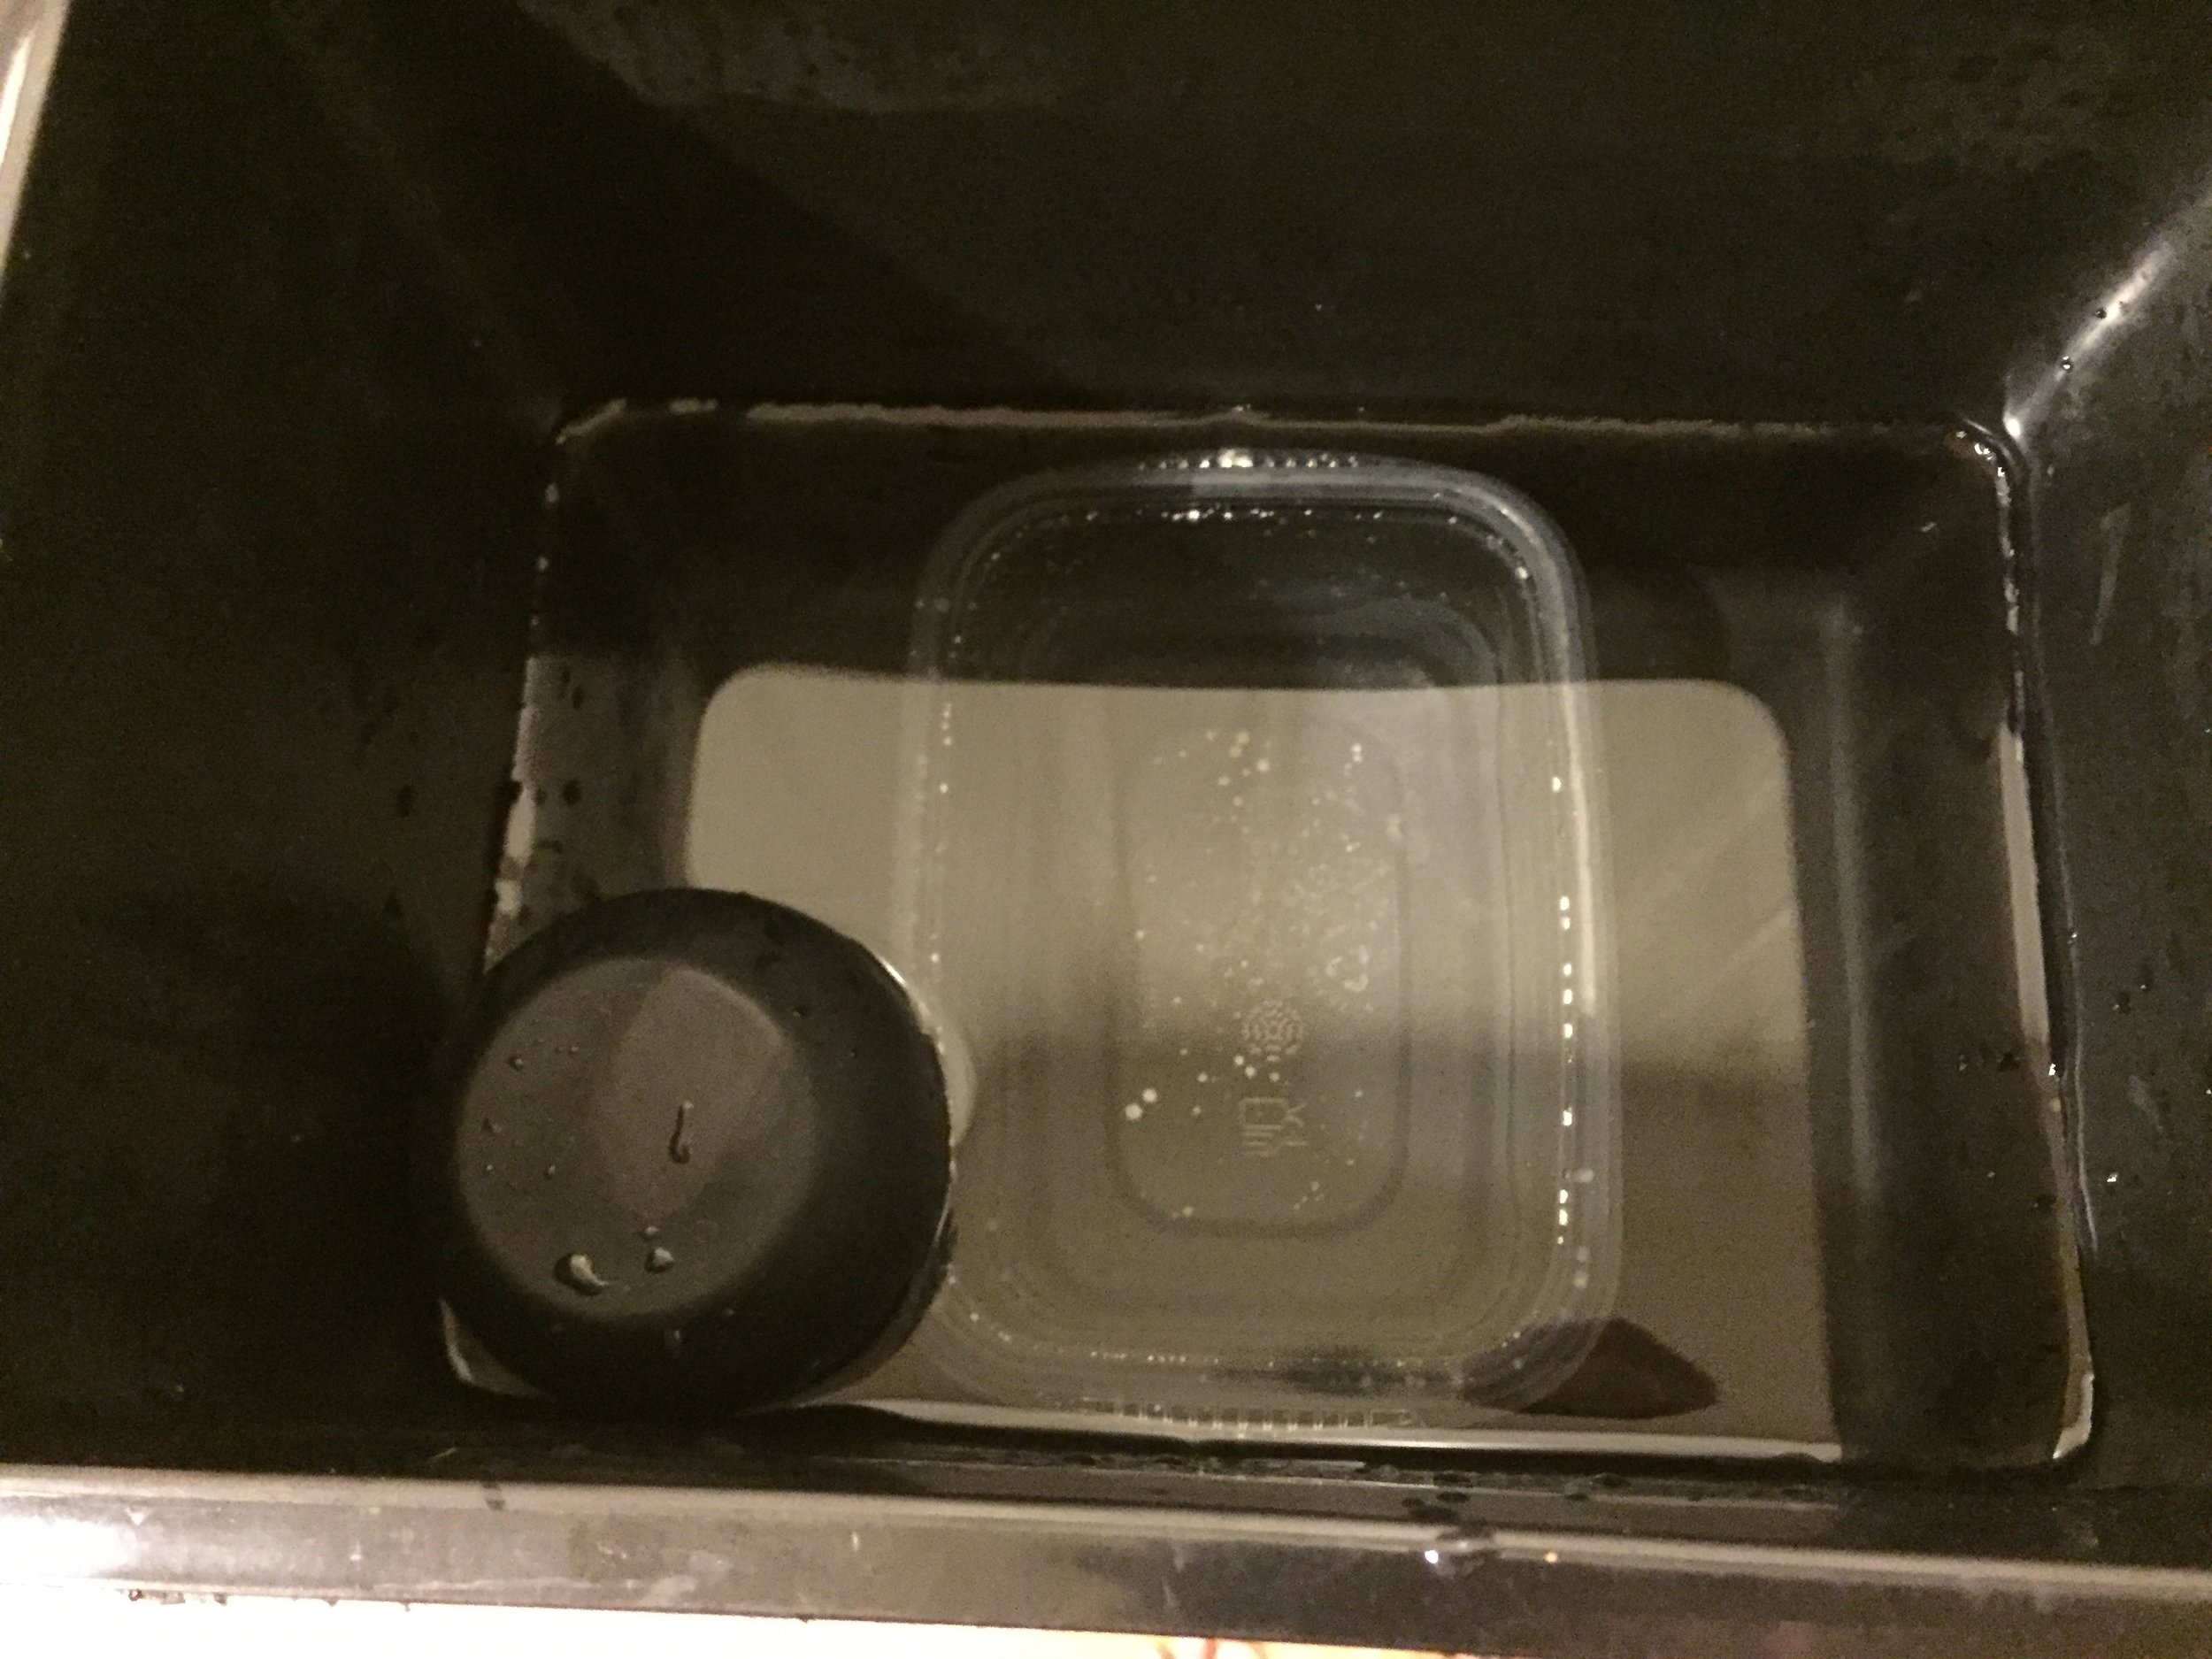
crystal clear ice sphere for cocktails
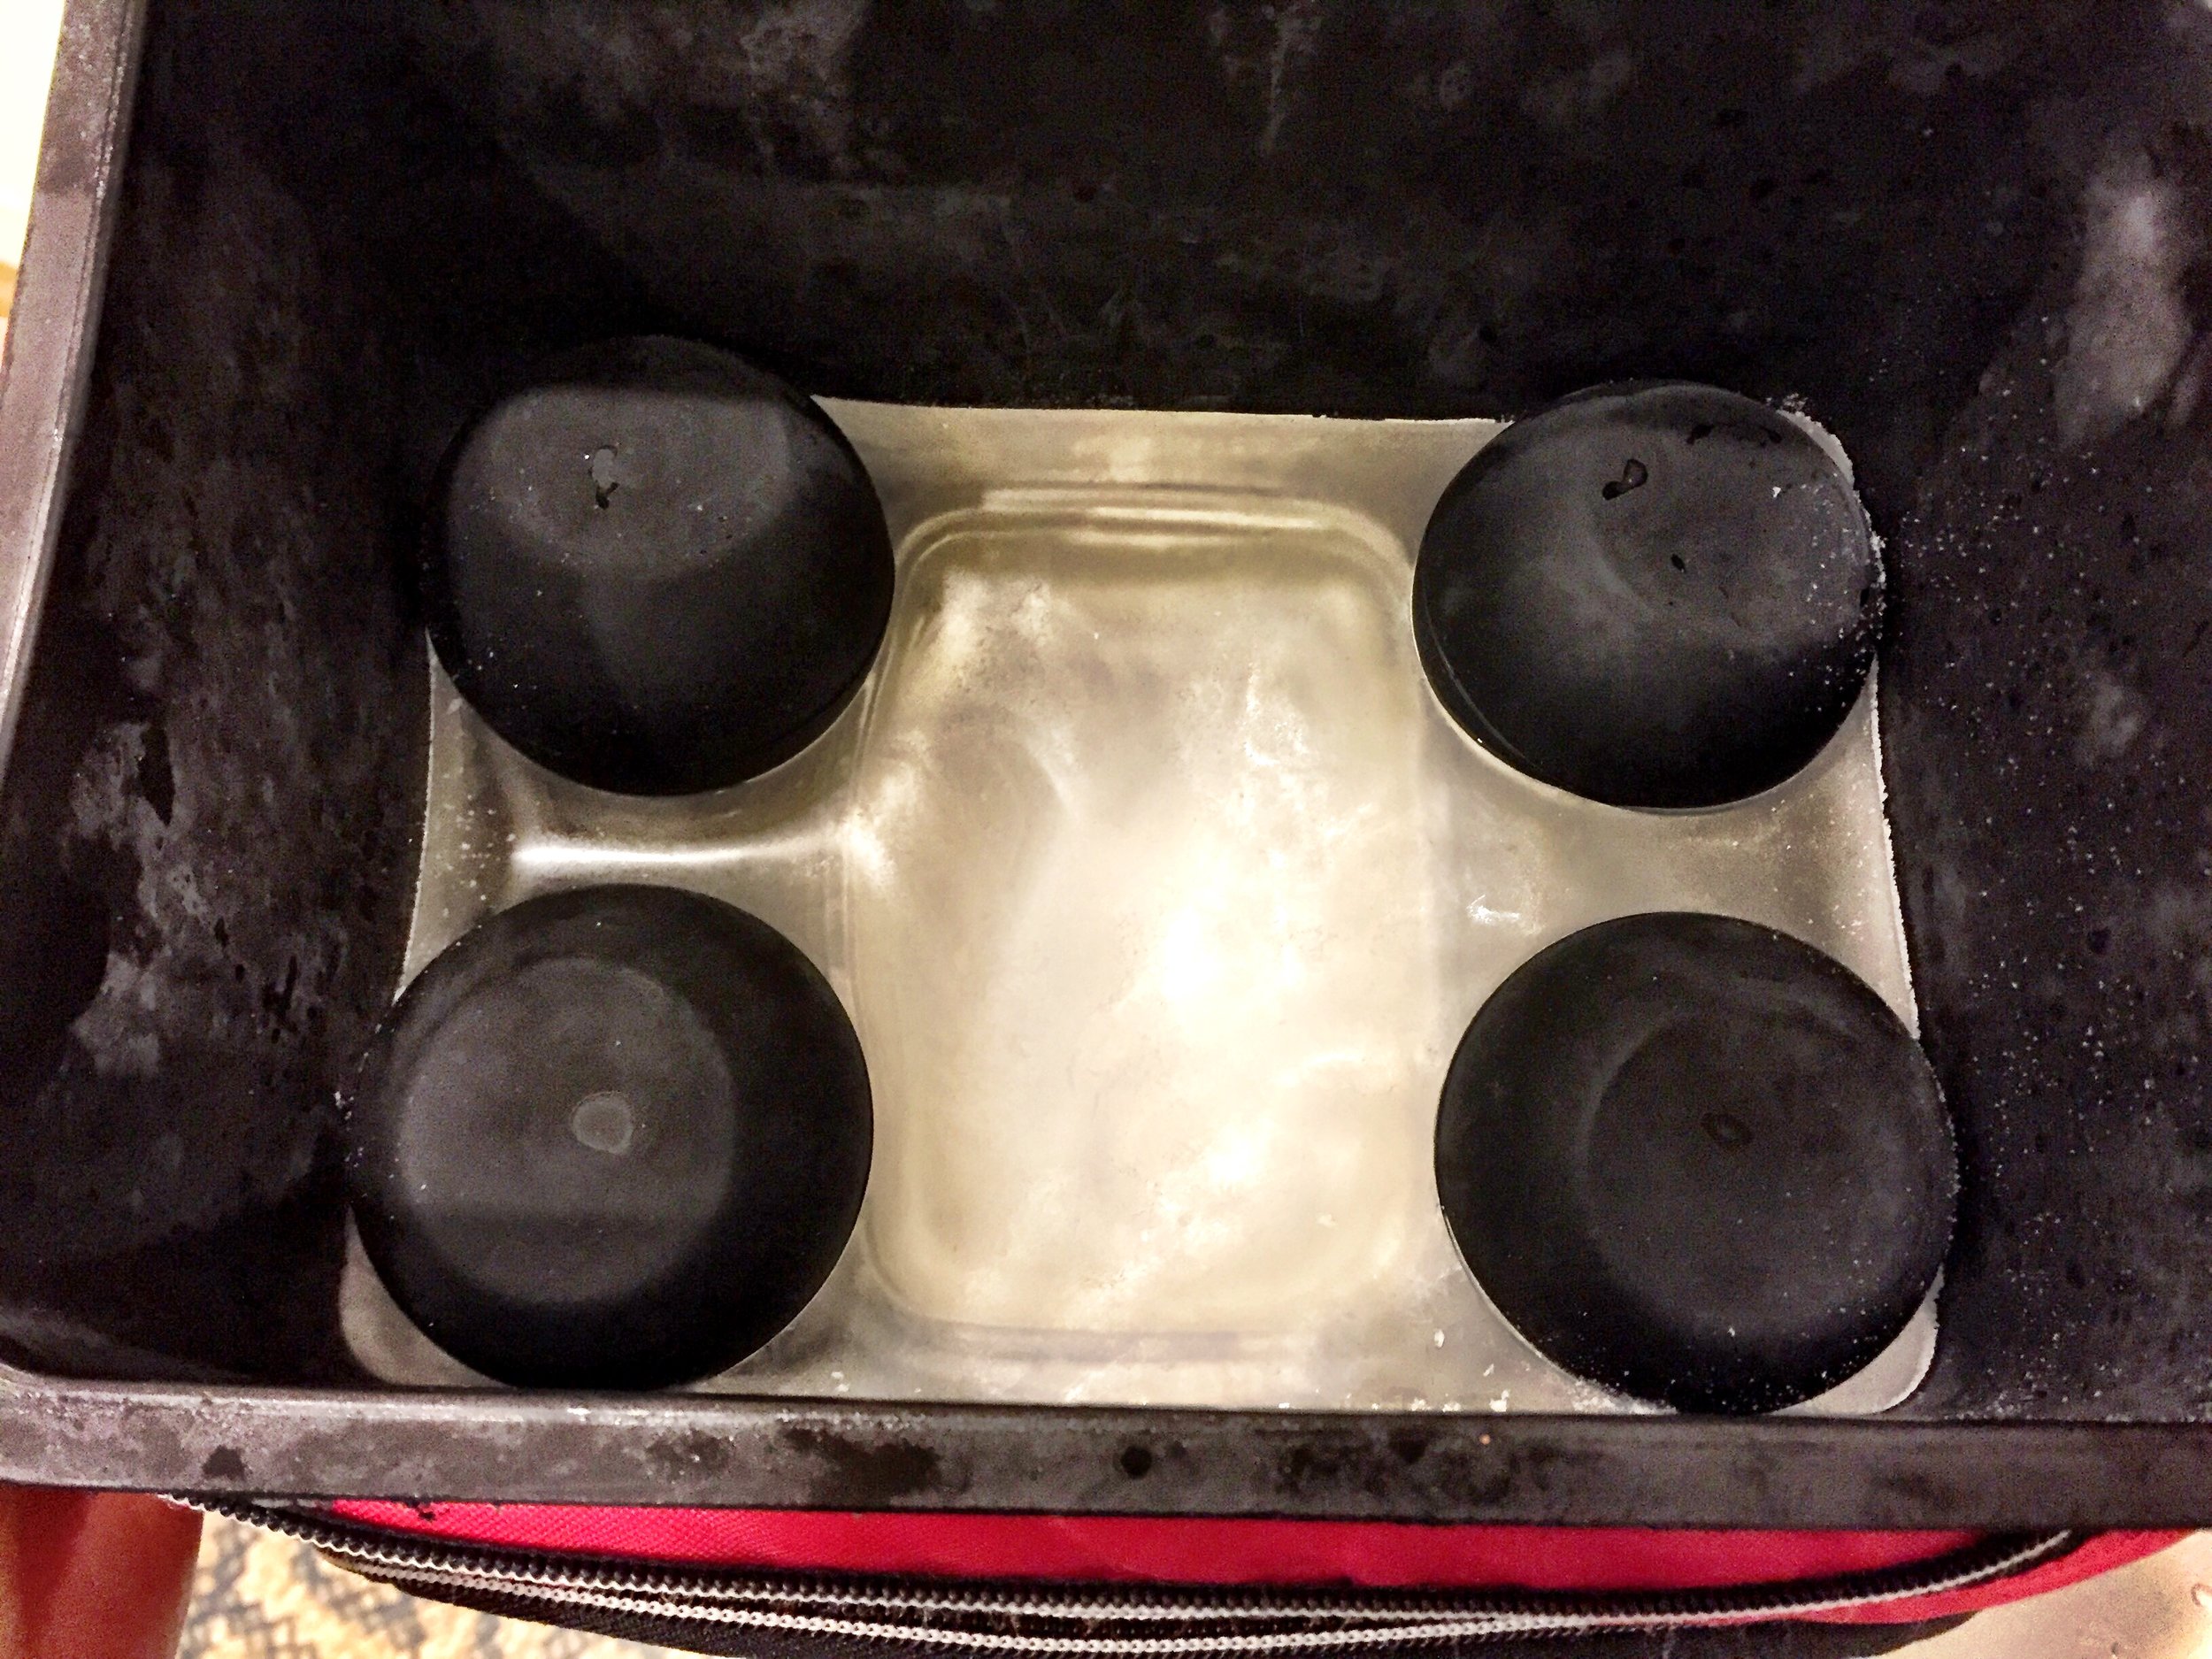
Repeat this process for the other three molds ensuring no water escapes from the mold and only 1/4 of the mold is submerged underwater.

crystal clear ice sphere for cocktails
Place the hardliner back into the insulated soft cooler and place this entire setup
with the lid open
(this is a crucial step, this is how we control the direction of freezing) in the freezer for 24 to 30 hours (times may vary based on your freezer). The compressor for my freezer is located closer to the bottom of all the racks, so that is where I always place my insulated cooler since that is where it is the coldest.

crystal clear ice sphere for cocktails
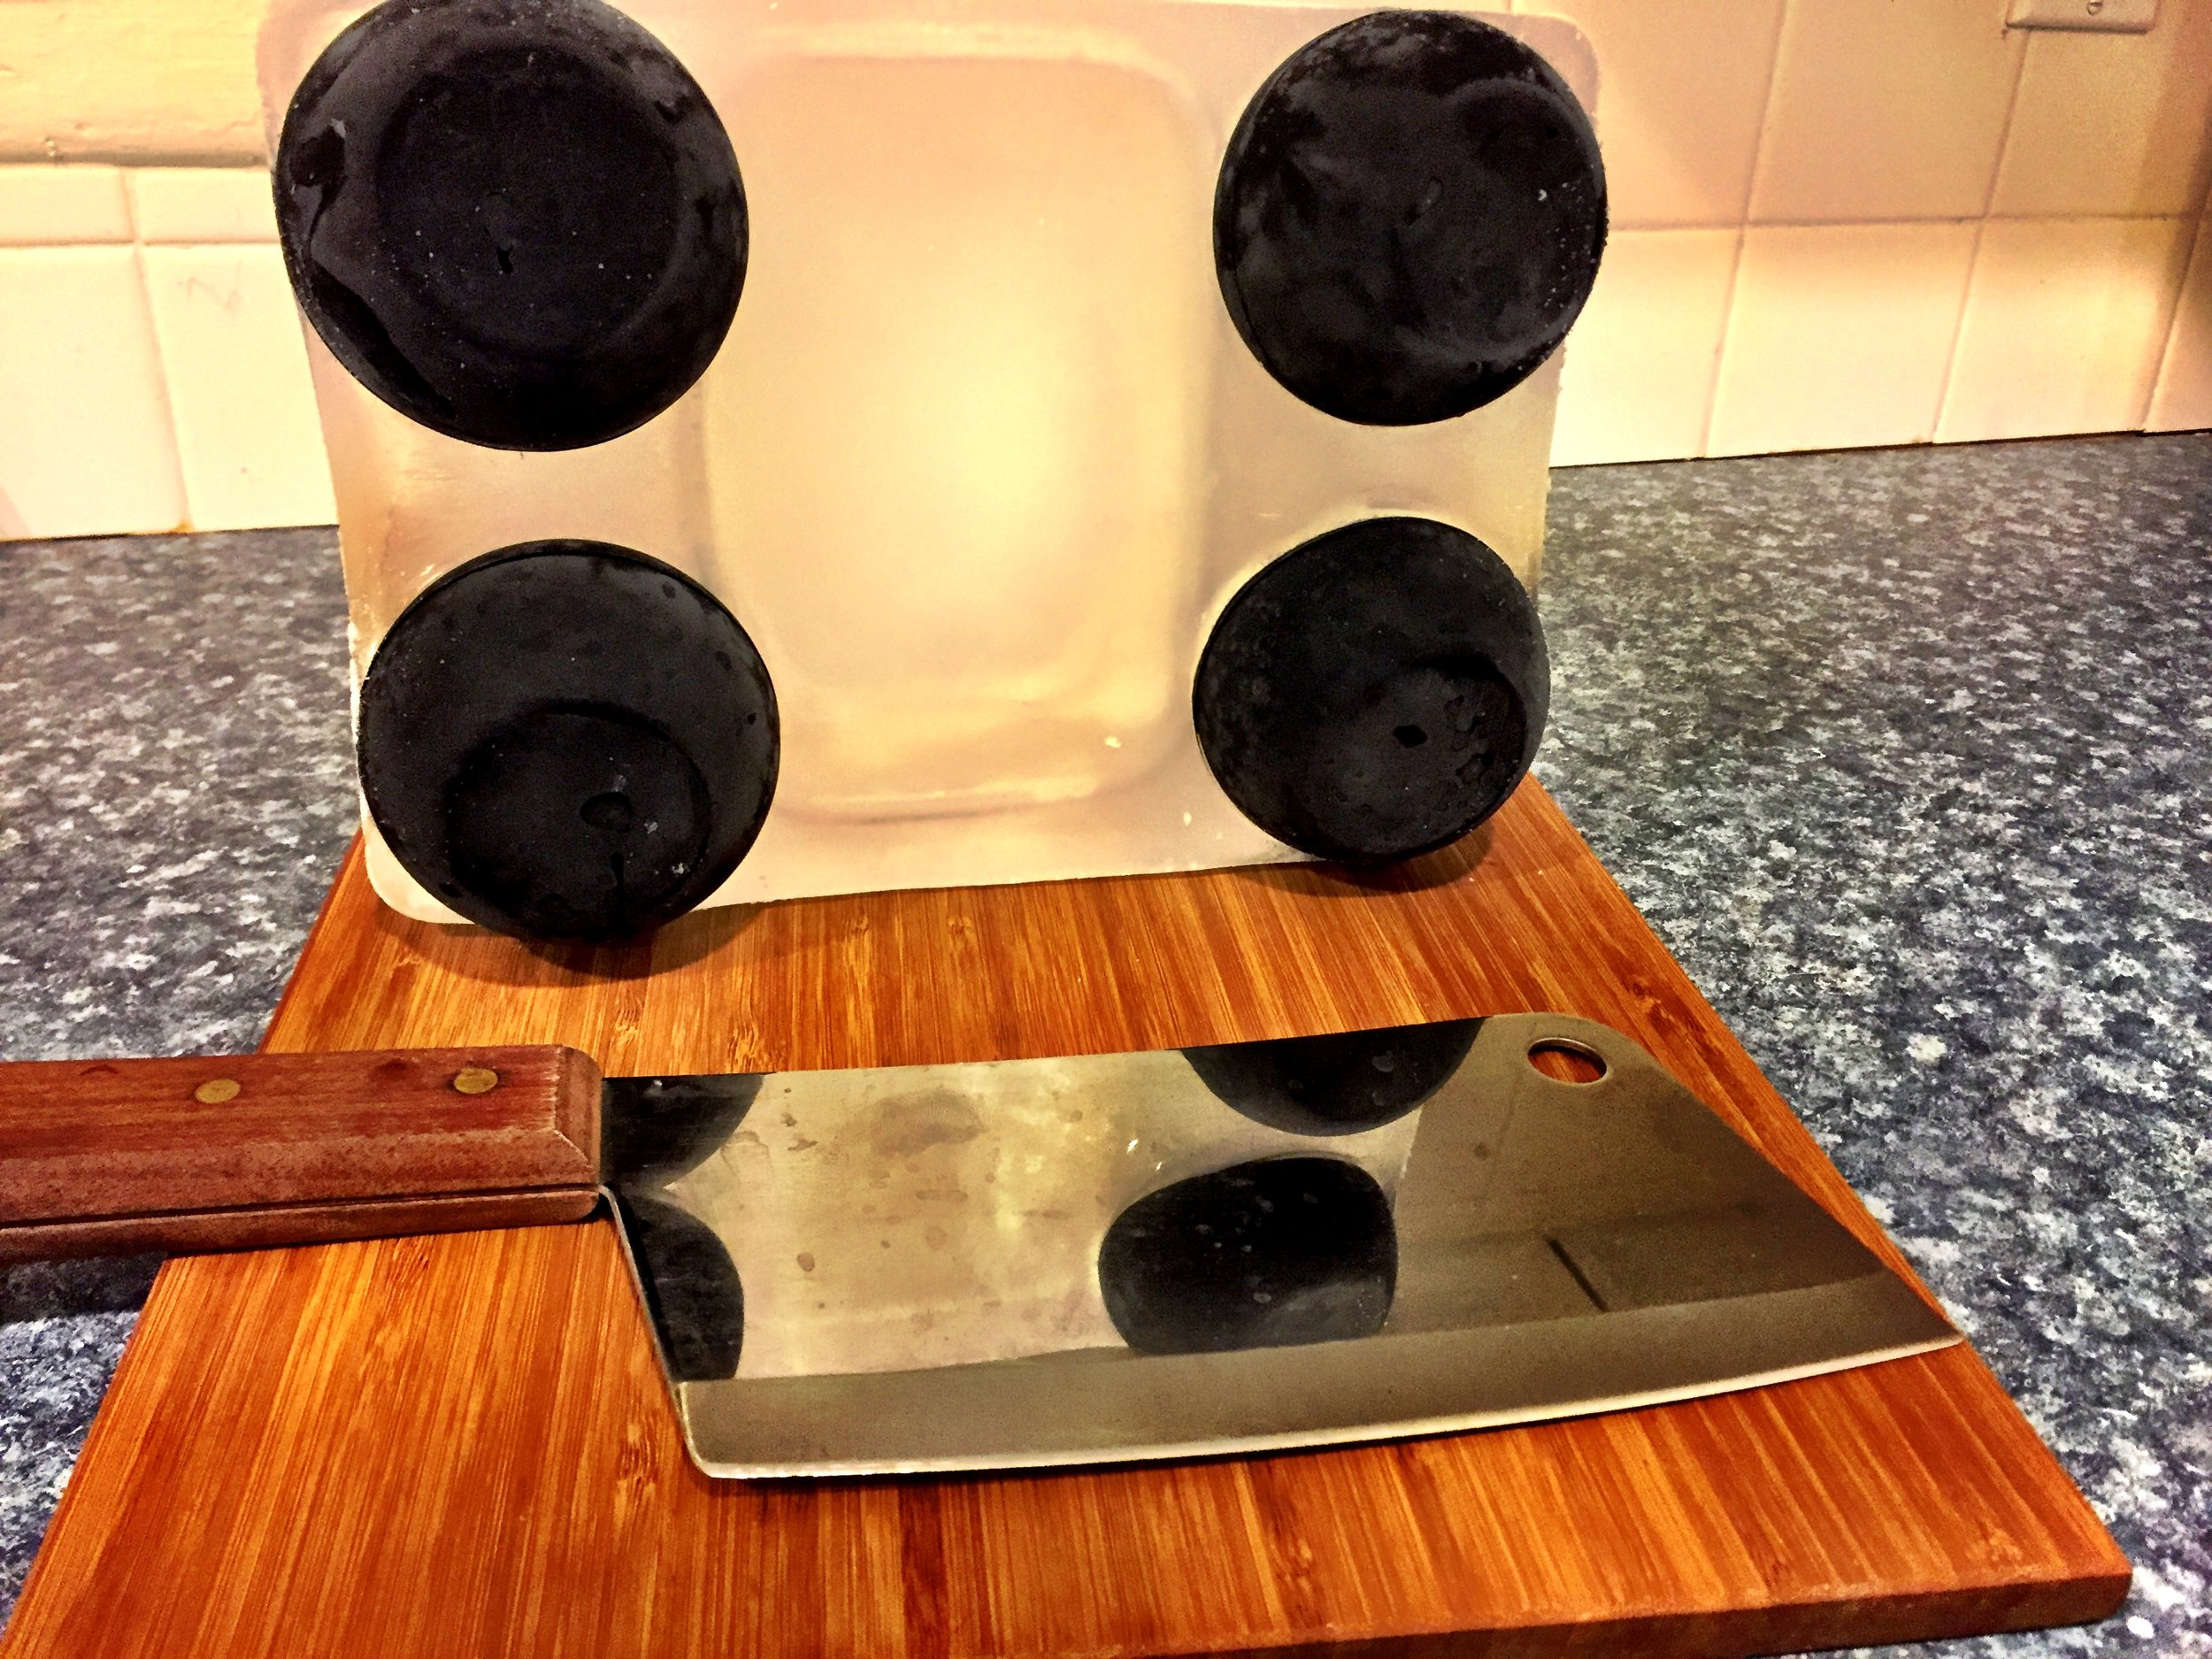
Take the cooler out of the freezer and remove the plastic hardliner from the insulation. Turn the hardliner upside down on to a cutting board, towel or clean sink and press on the bottom until the entire ice block slides out.
crystal clear ice sphere for cocktails
You will need to break the molds free from the ice block. I use a combination of a sharp cleaver, a hammer and COLD water so that the ice does not crack. You can use anything from an ice pick, screw driver, chisel, etc --
PLEASE BE VERY CAREFUL
during this step.
crystal clear ice sphere for cocktails
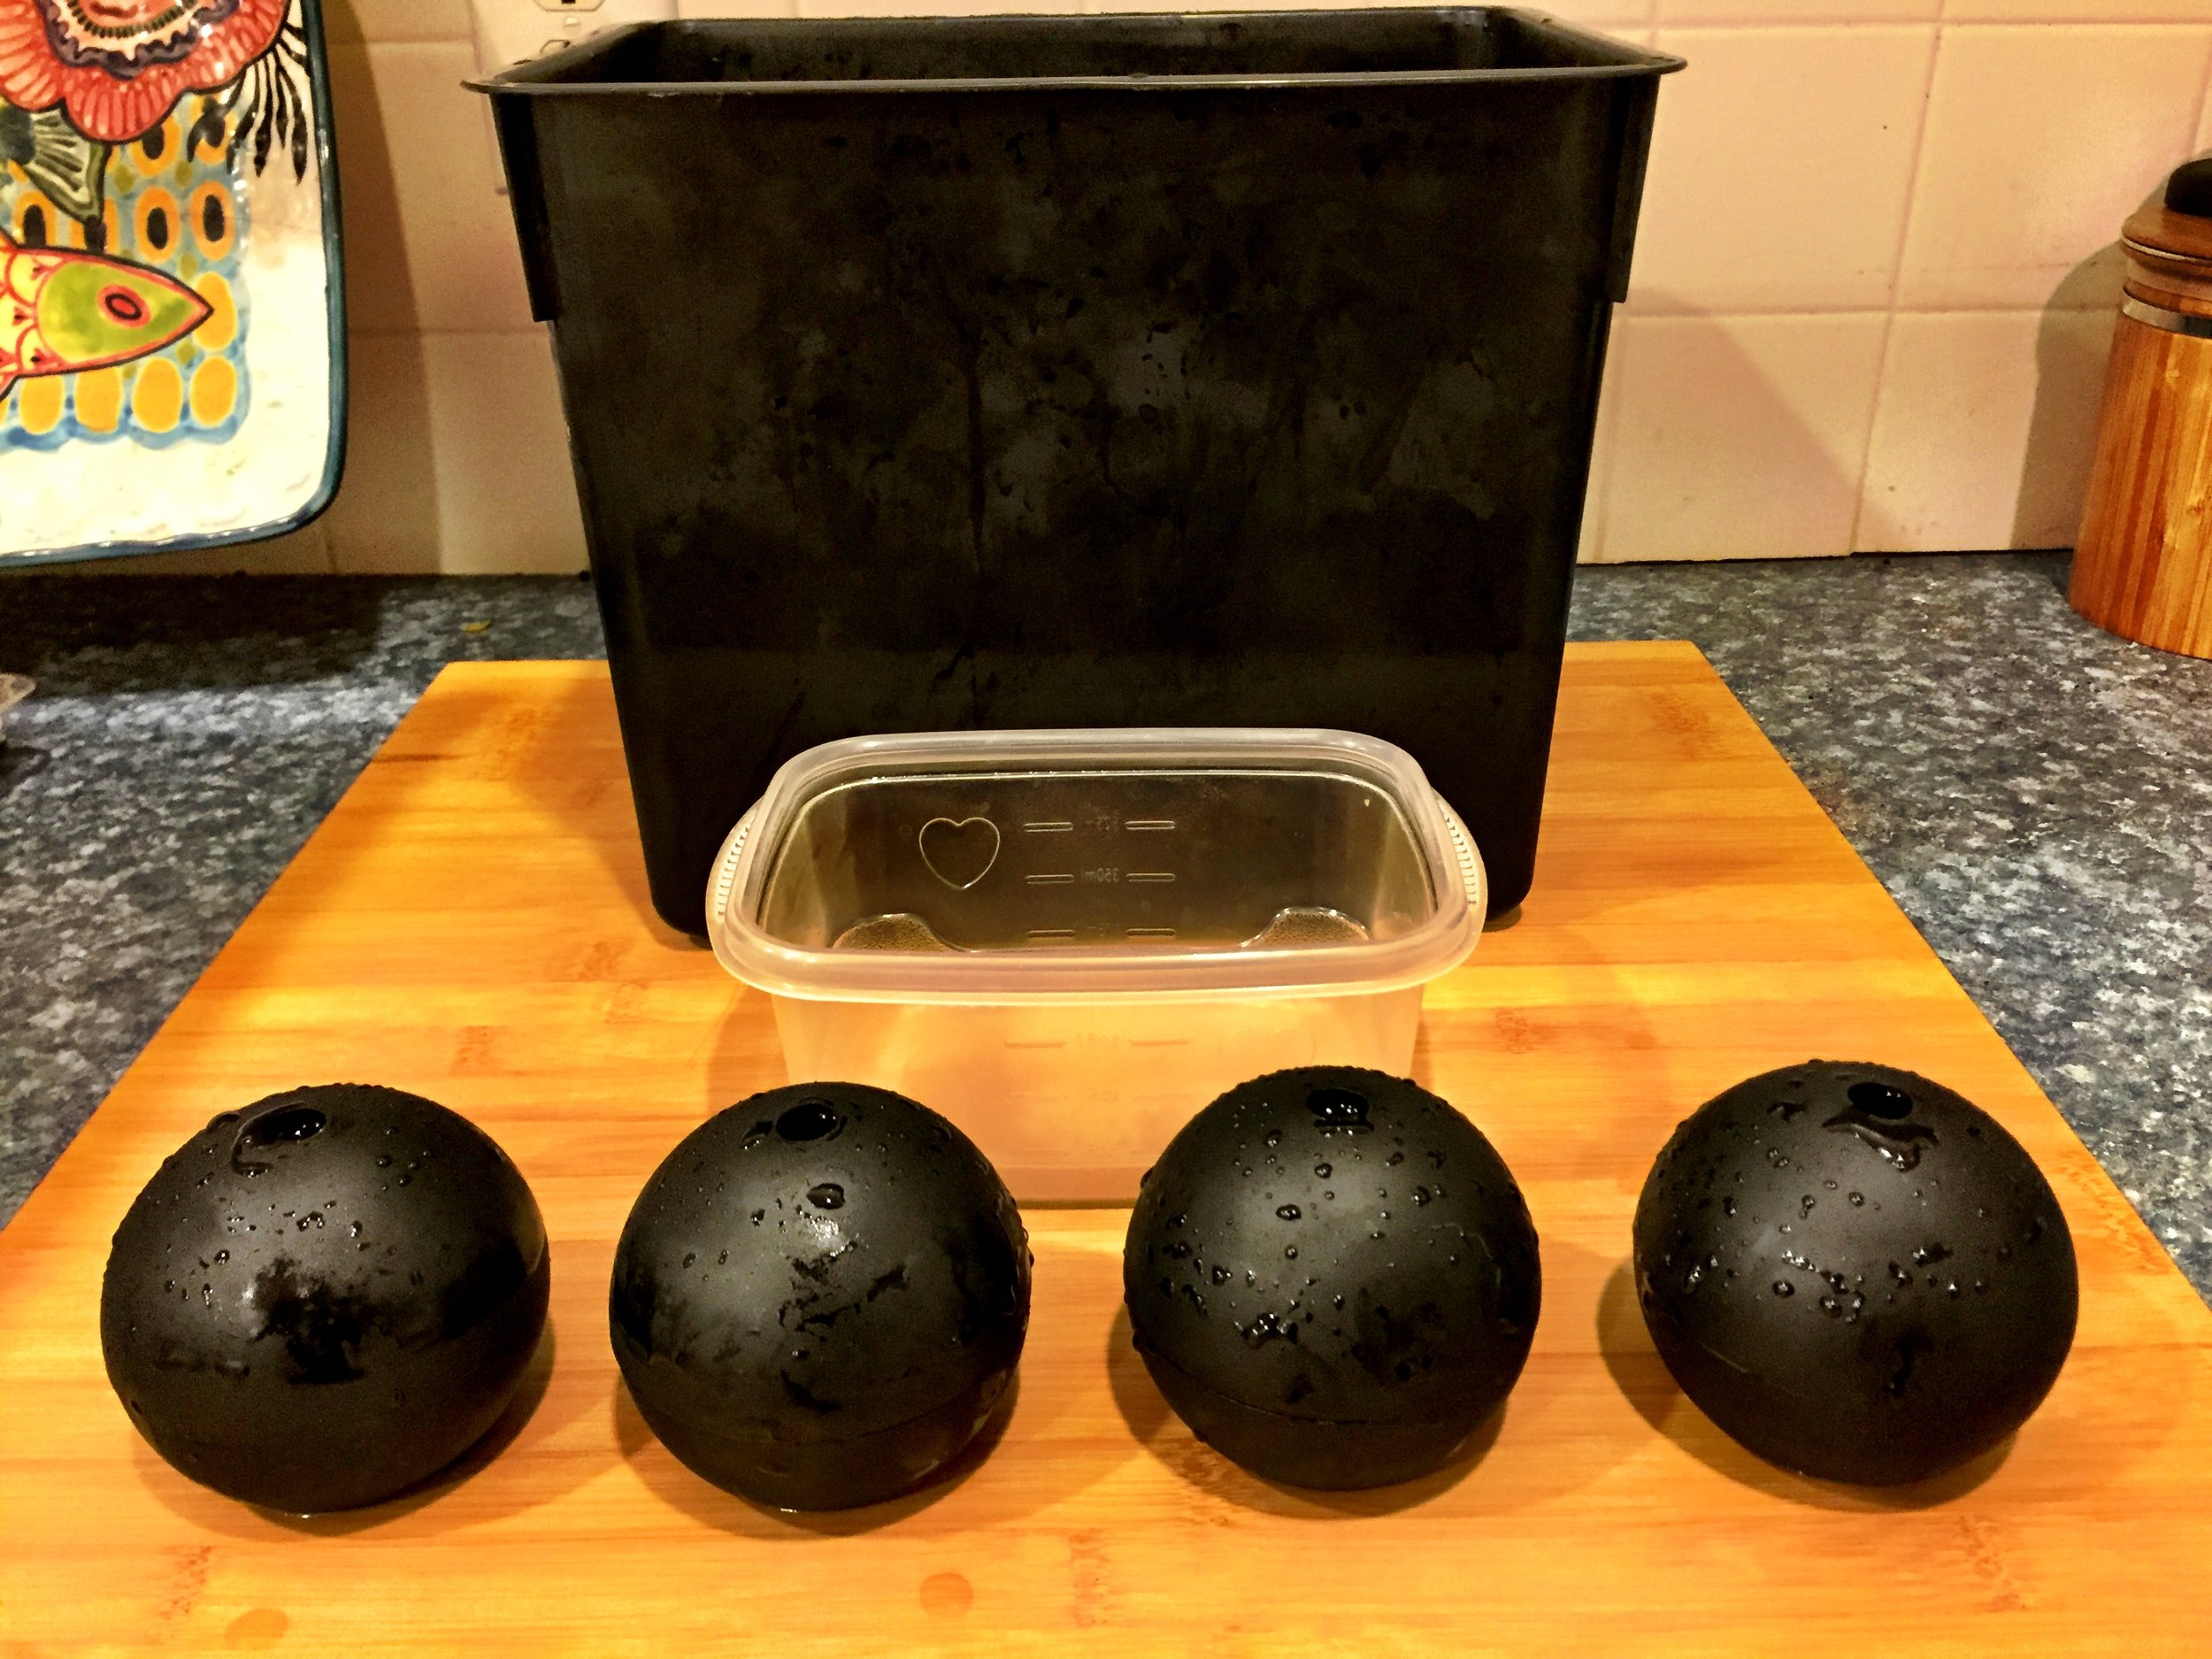
Once you've released the molds from the ice block, its time to see the fruits of your labor; peel open your ice sphere molds and remove the crystal clear ice spheres. Run them briefly under COLD water to remove any excess ice crystals.
Enjoy with your favorite whiskey and notice the ice is clear enough that it almost 'disappears' in the liquid.
Instructions for Ice Cubes
Before proceeding, please watch this beautiful video on carving giant blocks of ice into cubes by Richard Boccato from New York City's HundredWeight Ice. There are a ton of ice carving videos on YouTube, I suggest watching a few of these before committing to carving your own cubes.
This is even more simple, you will not need anything except water, the Ozark Trail cooler and plastic hardliner; start by assembling the cooler.
Fill the cooler with plastic hardliner with filtered water until it is about half-full (optimism, folks).
Place the entire cooler setup, again with the lid open in your freezer for 24 to 30 hours.
Take the cooler out of the freezer and remove the plastic hardliner from the insulation. Turn the hardliner upside down on to a cutting board, towel or clean sink and press on the bottom until the entire ice block slides out. I like putting my cutting board on a towel so it does not slide around and it absorbs the excess water.
Ugly, isn't she? Trim the excess ice until you have a crystal clear, rectangular block of ice. Again, I use the combination of a hammer and cleaver.
Similar to the video above, start cutting your ice to the size any size you desire. I cut my ice into 2.5 inch cubes but you can easily make smaller cubes or longer cubes for Collins glasses. Again, PLEASE BE VERY CAREFUL WHEN CARVING ICE.
Here they are in comparison the typical 'cloudy' Tovolo ice cube molds. This particular cooler and hardliner mold will yield roughly 12 large cubes. I let them 'dry out' on top of these Tovolo molds in the freezer so that they do not stick together upon storage.
I enjoy using my ice cubes in cocktails versus whiskey since they do tend to melt a bit faster than the spheres. Either way, these crystal clear, hand-cut, ice cubes will definitely up your cocktail game a few notches and impress your guests. Now get out there and start mixing!
P.S. If you enjoyed this article, you'll love Camper English's blog over at Alcademics. It is an incredible resource for a few other tutorials and methods for making crystal clear ice.